I made the 1952 Walk-Away dress for myself because I love vintage dresses. I had heard so much about it and decided it would make a nice Easter dress. I scoured the internet for reviews and videos on this type of dress but I didn’t find a lot of information. What I did find was pretty negative so I was curious as to how the pattern would work for me.
Right out of the gate, I’ll tell you that this pattern is the worst and the best I’ve ever had the privilege of sewing. I know that statement contradicts itself, but for me it’s true. I really did both love and hate this vintage dress pattern and I will go into detail to tell you exactly why. Come along with me and I’ll shed some light on this unique dress.
Pattern
I purchased the 1952 Walk-Away Dress from Butterick. I went to a physical fabric store to get it, but luckily I have found it online for you to purchase if you choose. It wasn’t easy to find on all Amazon stores, but Amazon.com carries it.
Below are my affiliate links. If you click on them, they will take you to Amazon and I will get a small commission. You can certainly get it at any fabric store. However, it’s easier online, especially because I have found size 8-22 inclusive. Image #1 is size 8-14. Image #2 is size 16-22. Just click on the pictures. Easy peasy!


To go directly to the supply list for this project, please click the Supply List. If you’d like to continue reading the review, please scroll down.
PROS
- There are only three pattern pieces in the entire pattern. Yes, you read that correctly. That’s something I really wanted to experience. I’d never used a pattern with so little pieces before and that seemed unique to me.
- The pattern instructions were really easy to read.
- Butterick is a reputable pattern company so I felt confident using the pattern. I’d used Butterick patterns many times before and they always produced quality garments.
- The pattern can be used by beginner sewers or those who have been sewing for years.
- The pattern was fun to use!
CONS
- The sizes were on the small side. I used a size 14 and I’m more like an 8. Some say the pattern sizes were different back then than they are today, but I doubt this pattern is the original. I’m pretty sure it’s a remake.
- The darts were all wrong. I don’t know what kind of women this pattern was drafted after, but the torso is way too long, and the darts are weirdly placed.
- There is no real way to fit the pattern pieces to your body because it’s so cumbersome like a giant apron. Perhaps this is an instance where a muslin mockup would be handy, though I don’t advocate doing muslin mockups. I wrote about why in one of my articles Tissue Fitting vs Muslin Mockups.
- The waist closure doesn’t look pretty and didn’t fit well. I changed this on my dress because, firstly, even though it was a size 14, the waist was too small. Instead, I extended it a bit. I opted out of the button closure in the back to give myself some extra room and decided to do ties because it was too hard to do up.
- The bias tape looks frumpy.
- The back under-skirt feels like it’s missing and exposes your butt if the wind catches it the right way.
Fabric & Supplies
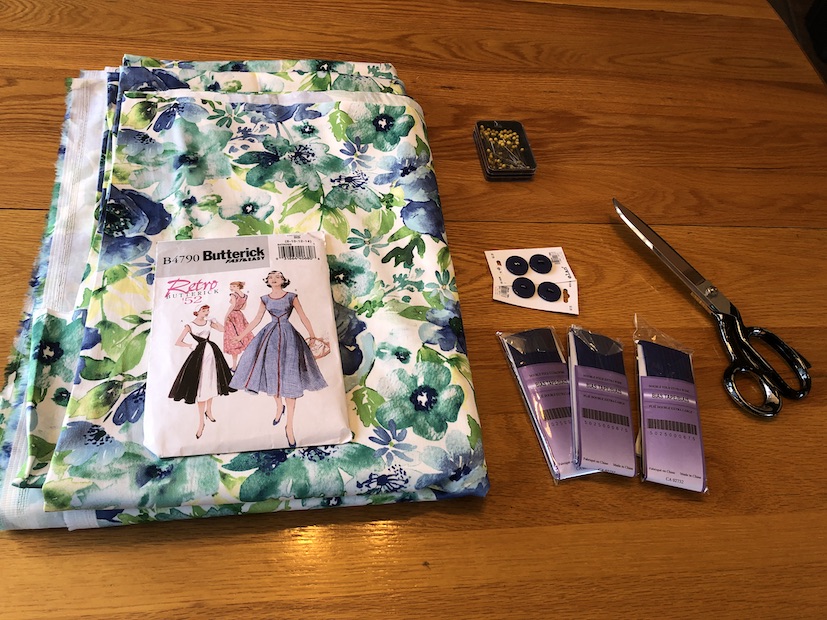
The fabric I chose was thick floral cotton with a tiny bit of stretch. I’m glad I chose something with a stretch because the dress definitely needs something with give because of its odd sizing. If you decide to make this dress, be sure and make a mockup of the bodice to see how it stretches and fits with the pleats. Though that’s really hard to do because of the all-in-one feel of the dress, it is necessary if you don’t want it to look like a baggy apron. There is an article online of a woman who was successful in altering the pattern BEFORE she sewed it up, but I will caution that you’re still going in blind and fashioning it after someone else’s body type if you do that.
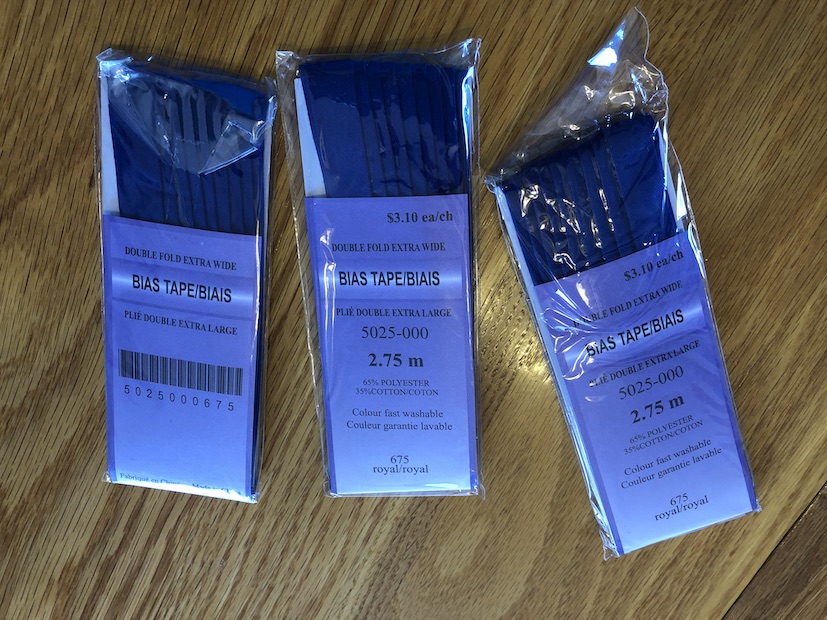
I purchased contrasting bias tape because the pattern called for it. But I’m on the fence with this technique. The premise behind having bias tape edging is that it finishes the dress nicely and is easy enough for a beginner to do. But, it gave the dress a less professional feel. I think if I made it again, I wouldn’t go with a contrast. I’d use a narrower bias and perhaps one with a satin sheen to give it a dressy look.
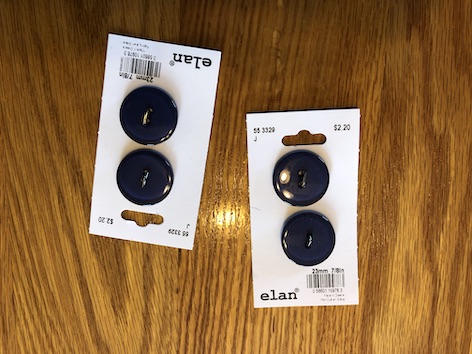
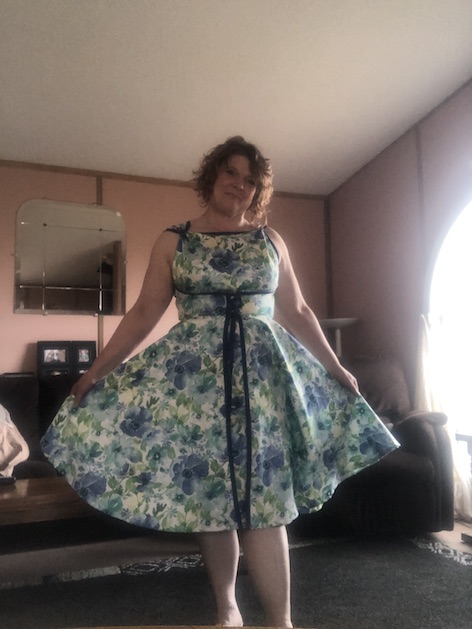
I purchased buttons the same color as the bias tape, but I only put the buttons in the front, opting for ties in the back made out of the leftover bias tape. The reason I did that is to give it a more snug fit, and so that I didn’t have to fumble with a button behind my back. That was way too hard to do up. Nothing like easy peasy ties. I then brought the ties to the front and left them to hang. I liked that look.
I used regular white thread in the basic construction of the pattern pieces, and butter-yellow thread inside to serge the seams. No particular reason I chose yellow, other than the fact that yellow is my favorite color and there was a tiny hint of it in the fabric. The pattern doesn’t call for the edges to be serged, I just like to use my serger. Why not. If you have it use it, then use it! I also like the inside of my garments to look as beautiful and professional as the outside does. A trick I was taught by one of my sewing instructors a long time ago.
Cutting Out Pattern Pieces
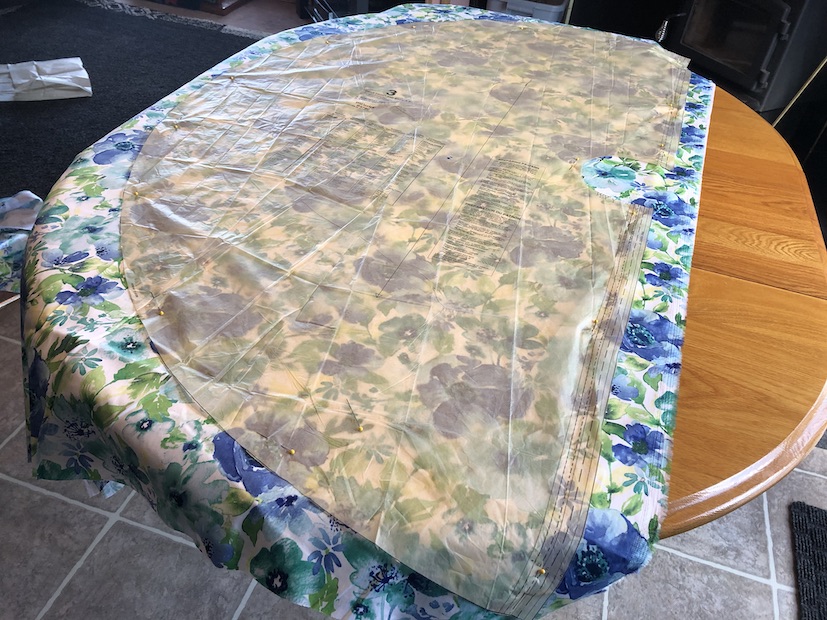
I cut out the pattern pieces on a large table, though it still wasn’t big enough. The dress has a circular skirt and that is not easy to place on a table. You may need to lay it out on the floor if you don’t have a big enough table.
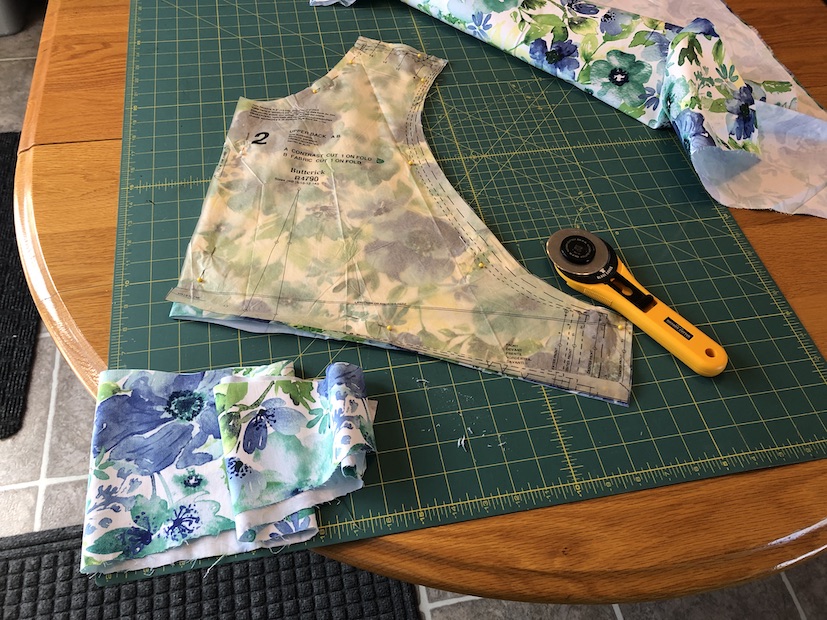
I used my cutting board and Olfa knife, but you can use regular scissors. I just like the quick crisp action of a cutting wheel to get the job done quickly and precisely.
I really loved the fact that this pattern only had three pieces to cut out. At first, I didn’t really understand what the dress was going to look like or how it would work with only three pieces, but as I read through the instructions, I began to realize how it would come together. Still, I couldn’t get over the feeling that I was making a giant defunct apron.

Measurements
Yes, as I mentioned before, the measurements seemed off to me. I am not a size 14, but rather an 8 or 10 depending on the cut of the pattern. This pattern was not cut very well in my opinion. I read stories of other people having problems with sizing too. I anticipated this ahead of time, so that’s why I cut out the 14. I’m glad I did.
It was too small in the waist and too big in the bodice around the neck. In hindsight, I should have spent more time trying to fit the bodice before I sewed it all together, but really, there is no way I could even gauge how exactly it was supposed to fit. The only real way I knew how it would fit was once I had completed the garment and actually put it on. Even once I finished sewing it, I still had no idea how it was supposed to look like the picture on the pattern. It’s just that weird!
If you chose to sew this dress, make a mockup. That’s the only advice I can give you regarding sizing. Use an old sheet and make a completed mock dress so you know how it hangs and where exactly the darts fit in proportion to your body. If you have a dress form (to your own body size) it would be advantageous to use it for this dress, though it still would be cumbersome to put on.
Sewing
The actual sewing construction doesn’t take long at all. Single straight-stitch sewing is all that’s required. I spent some time serging the edges but that didn’t take long either. The only part that took a while to sew was the dart prepping and the bias tape.
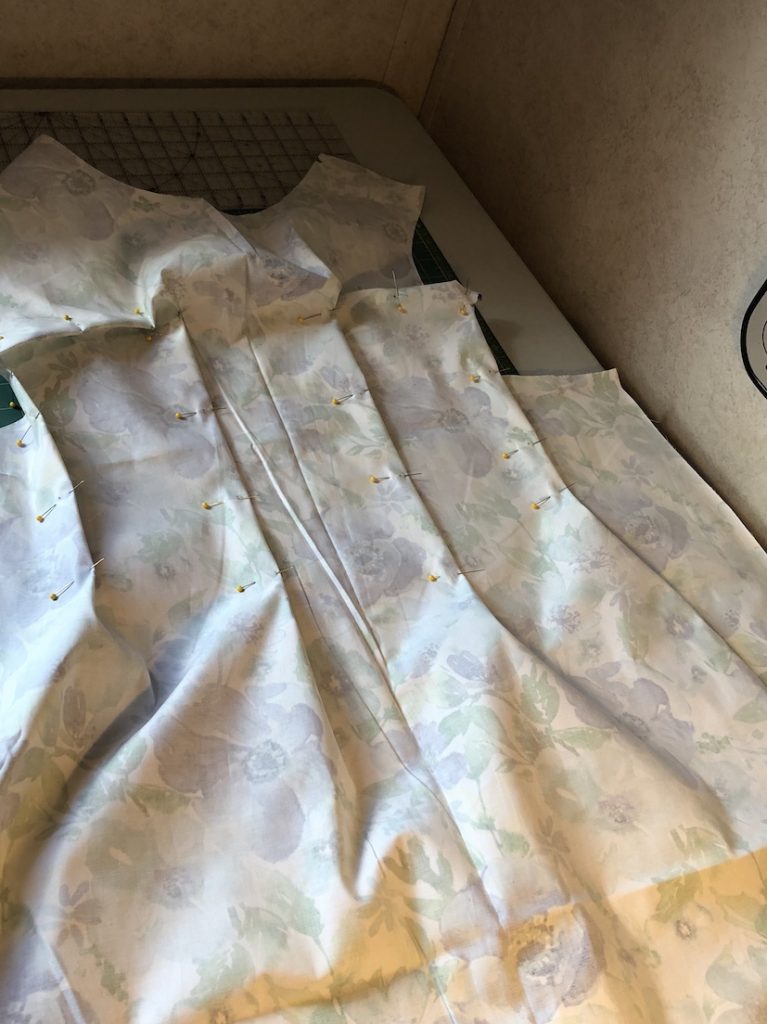
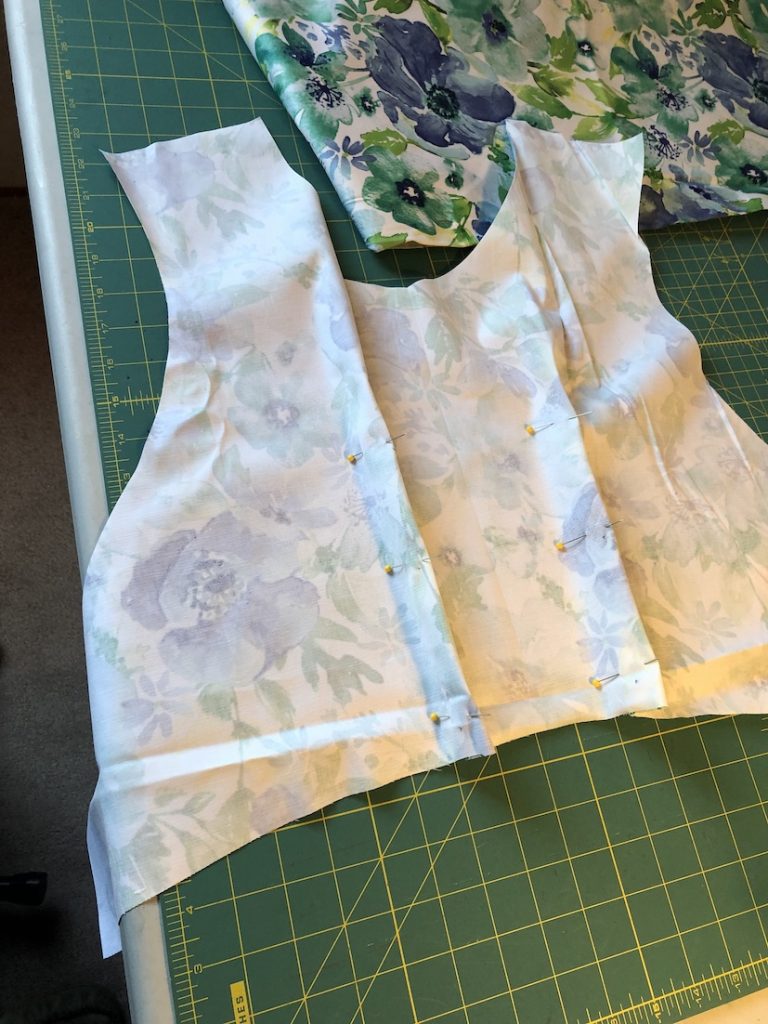
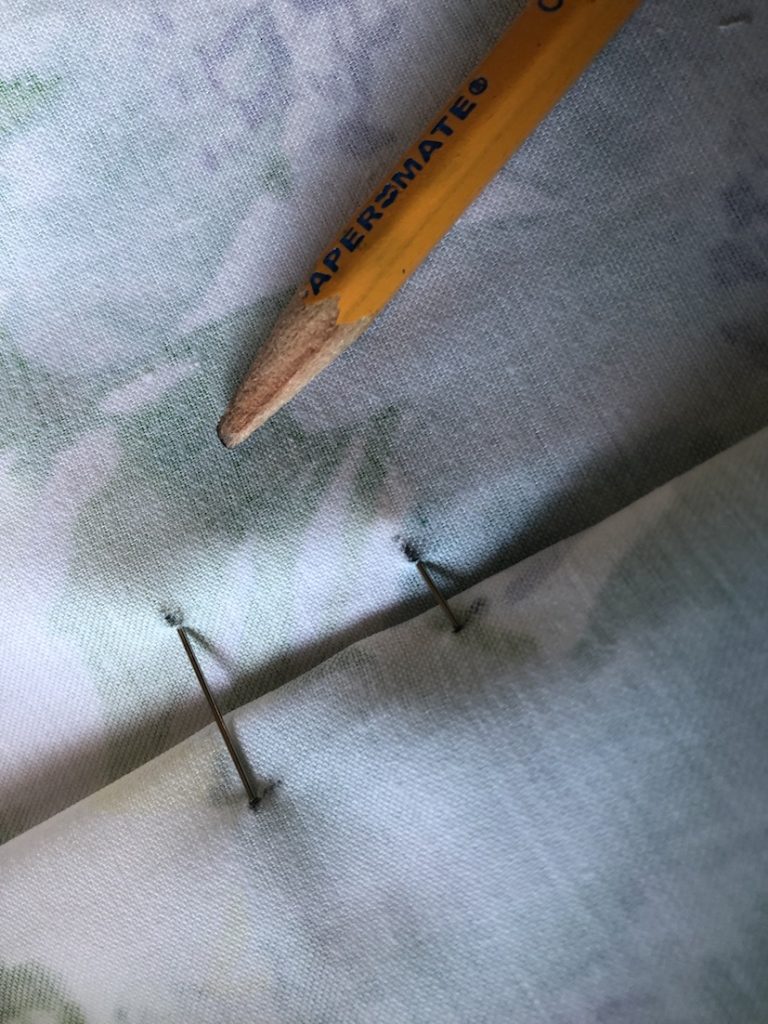
The pattern pieces matched up exactly, and that made me happy. The notches made things fall into position quite easily. I used pins for everything, but you could probably do it without pins if you like. Or you could use clips. After all, there are only three pattern pieces.
The circle skirt easily set into the bodice. I’m a fan of circle skirts for the simple fact that it requires very little sewing to produce a bountiful result. Big skirt, little waist. Love it!
Bias Tape
The bias tape wasn’t as flattering as I’d hoped. It gives great definition under the bust once the dress is fastened up, but it just reminded me too much of a giant apron. It gave it a casual look and I didn’t like that.

At the end of the day, it still looked good, but I don’t know if I’d use the same kind of bias tape the pattern suggests. I personally think a narrower bias tape would look better. But maybe I’m too picky.
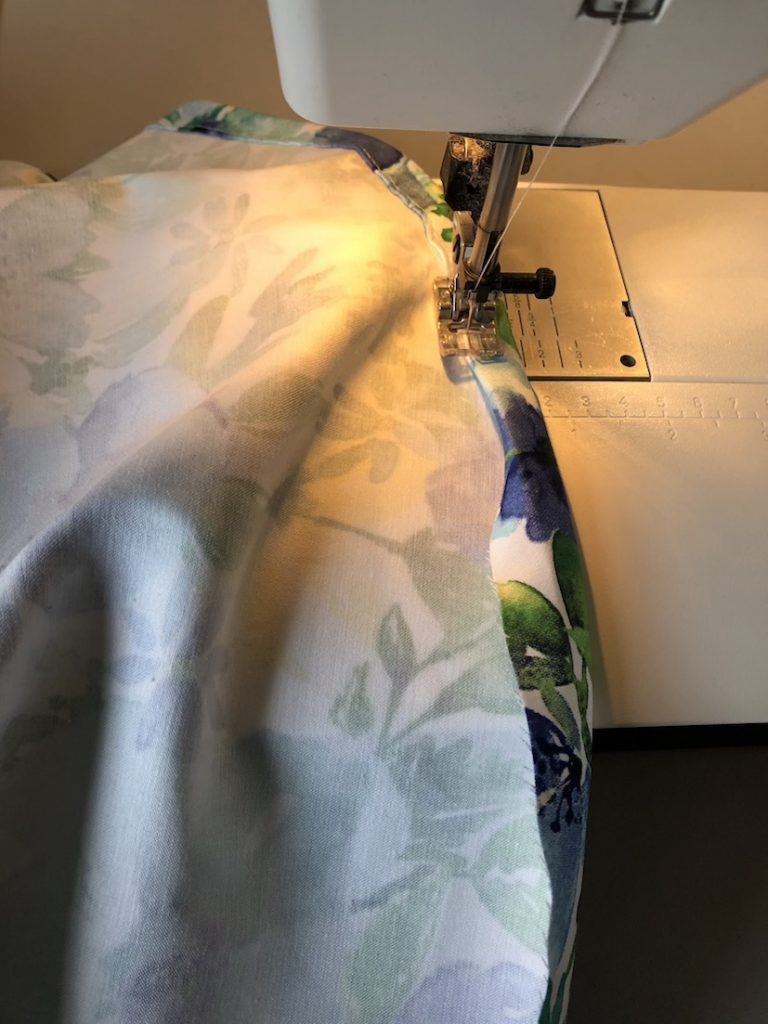
It was a tedious pain in the neck sewing the bias tape on, but a necessary evil. I admit it did finish the garment more easily than anything else would have. I can’t imagine edging with a seam or serge. That would have been more difficult and look ugly for this particular dress.
Buttons & Fastening
The bias tape buttonholes were easy and looked okay, but If I were to do it again, I’d use something prettier. Maybe diamond buttons or even decorative snaps. The casualness of the buttons didn’t do it for me.

I also didn’t use a button to fasten the back. I used ties instead. Because the dress is so big and cumbersome, it was hard reaching behind my back to do a button-up. Not only that, it wasn’t fitting right. I decided the ties enabled me to pull the dress more snuggly and wrap around the front where I could tie it. I let the ties hang in the front which I incorporated as part of the outfit.
Hemming
Hemming the circle skirt takes time and talent. I wouldn’t think a beginner sewer would like this part very much. I’ve been sewing for over 30 years and I had some difficulty preventing puckers in the hem. If you don’t keep the hem narrow enough it will roll. It doesn’t matter how long you’ve been sewing. That’s simple physics.

My suggestion is to take your time. You won’t be speeding along doing a circle skirt hem. It is what it is. Sew it as best as you can and once it’s done, press, press, press. There may be a tiny bit of pucker, but don’t stress over it.
Overall, the basic hem work, minus the bottom of the circle skirt, is pretty quick and easy.
Alterations
The dress requires alterations, especially if you didn’t do a mockup. I didn’t do a mockup and just threw it all together. Perhaps that’s my fault, but I just wanted to experience the uniqueness of the dress the way it was. Besides, I had no idea how it was supposed to look, or even fit once it was on my body. This is the kind of dress that keeps you guessing right up until you sew the very last seam.
In a way, it was fun, yet frustrating. I hoped it fit, but didn’t really think it would. By the looks of it, I thought I had messed the entire thing up. Sure I followed all the instructions, and the seams were straight and tidy, but the thing did NOT look like a dress. It resembled a gigantic apron.
Once I finished sewing the entire thing, (before I tried it on) I remember calling my daughter. I was upset and told her the pattern was the worst thing I’d ever sewn. I told her it looked like some odd-shaped thing that wouldn’t possibly look good on me.
I threw the dress in the corner and gave up. Seriously, this pattern is deceiving! It will make you think you did something wrong, and doubt that the pattern will even resemble a dress once you wrangle the thing on.
But I was wrong.
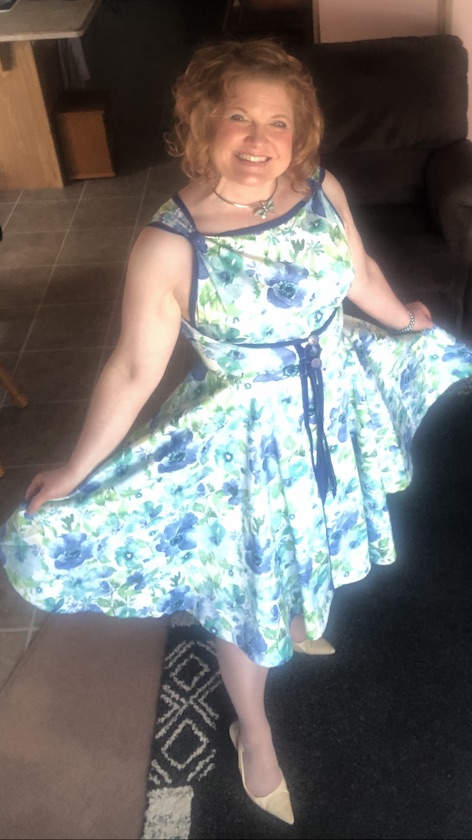
I tried the dress on, fumbling with the big cumbersome thing until it became snug enough to actually look like a dress. I was shocked. I sent my daughter a picture, and said, “I guess it isn’t as bad as I thought it was!”
However, I quickly realized the neckline drooped. I think because it was like a unibody design, it didn’t fit my curves or lack-there-of. Others have complained about this too. It seemed to hang around my neck for some reason and I hated that. I quickly altered it by pulling it in on the shoulders, giving it a more square neckline. It wasn’t the best alteration, but it worked. It seemed to take in the sag.

If I were to sew this dress again, I would work on that neckline before constructing it again. I would somehow add pleats or darts to the neckline. But personally, I have a sneaking suspicion that this dress would work better with T-shirt material. I think it needs a 2 or 4 way stretch material to pull it off. In fact, I’d love to try this with a lycra or a decorative swimwear. Now that would be unique!
Practicality
Okay, so the first thing I’m going to say is this dress is NOT practical. It may look good on, once you figure out how to pull it all together, but once it’s on, look out. If the wind blows the wrong way, your entire bottom will be exposed because of the ‘backless’ underskirt. Um, yes! It happened to me on a breezy spring day.
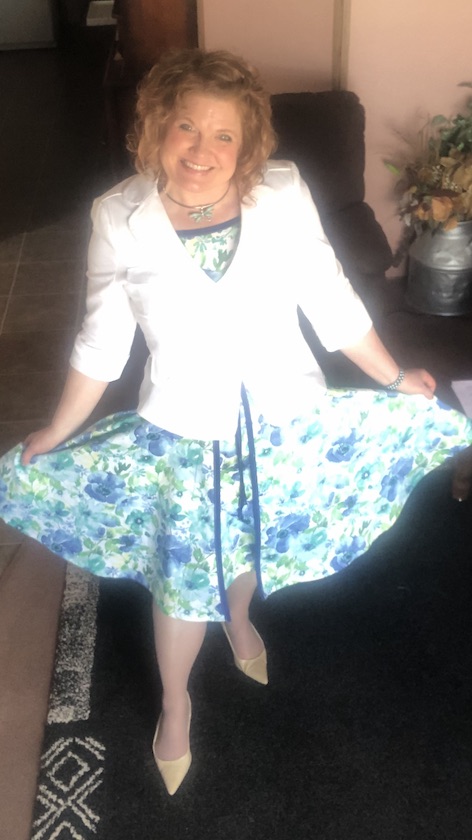
The moment I realized the dress wasn’t practical was when I decided to film myself twirling in it. I set up my camera on a chair and pressed record. I was shocked to see myself twirling. The camera caught my underpants because there is NO back of the skirt. I repeat, THERE IS NO BACK OF THE SKIRT! Sure, there is an entire circle that wraps from the back to the front, but the skinny front pulls to the back leaving your butt exposed underneath. Only those who’ve worn this dress will understand what I mean.
It is really weird and unusual. I thought because there was so much fabric, this problem wouldn’t happen, but I was wrong. It feels like something is missing, especially if you are standing outside in the wind.
I did end up filming myself twirling, but I had to set the camera above me so I wouldn’t be exposed when I twirl. Take a look at my video. I’m pretty proud of my twirl even if I had to position the camera from above. It was worth it in the end!
Slips & Under-skirting
There is a way around exposing yourself with this dress. That is with an underskirt, or at the very least a slip. Crinoline or tulle underskirts are great with this kind of dress and necessary for modesty in my opinion.
In hindsight, I should have made an underskirt or worn a slip the first time I wore this dress. I would have felt a little more dressed. If you don’t wear at least a slip, you will find yourself holding your dress down or closed when going outside for fear of exposure.
Make sure if you sew this dress, you also budget for an underskirt to wear underneath.
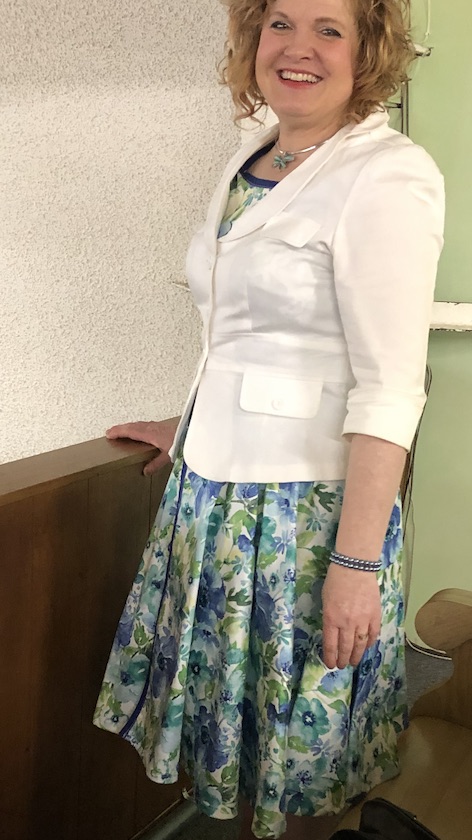
I also wanted to mention that the dress looks good with a jacket too for those occasions where you have to cover up. I wore a jacket on Easter Sunday because it was cold. Take a peek at how lovely a jacket can look with the 1952 Walk-Away Dress.

Conclusion
In conclusion, my final review remains the same. This was the worst and the best vintage dress pattern I’ve ever made. It’s the worst because it feels like you’re making a giant abnormal apron. You feel like you’ve failed when completing the dress because it’s a giant shapeless ball of fabric. You have no idea how it’s going to fit, or even if it will.
But, once it’s on, it is the best vintage dress you’ll ever wear because it’s unique and beautiful and there’s nothing like it. Wearing this 1952 Walk-Away dress is an experience you’ll never get from any other garment. It’s such an original that it will make you want to wear it forever. You will feel so fabulous in it, that you will forget all about the difficulties constructing it or your fear it would never look like the pattern picture.
It does once it’s on.
And it really is a dress that you can start sewing in the morning, and walk away with it in the afternoon. That’s why they call it the walk-away dress. It’s simple yet beautiful. Don’t let the oddness of the design deter you from sewing this great dress. Just take my suggestions and implement them into your sewing adventure and you’ll be fine.
When you do, you will walk away with an original.
Enjoy sewing the dress!
To go to the B4790 supply list, please click the Supply List.
Watch the Youtube compilation 1952 Walk Away Dress.
Kathy your honesty is such a refreshing attribute in this day and age when everything can be read and done on line. I am not a person who sew’s clothing but I have done pillows and blankets. The instructions are easy to read and follow even for an amateur like me. You looked so lovely in the dress, and I am sure other people will find this very helpful as did I. Thank you
Thank you! You are so welcome Patty! I’m glad you were able to find value in my post. That’s why I do this 🙂