You can shorten a dress yourself instead of paying an arm and a leg for a shop to do it for you. It isn’t that hard if you follow these steps. Most of the time people are afraid to mess up so they don’t even try.
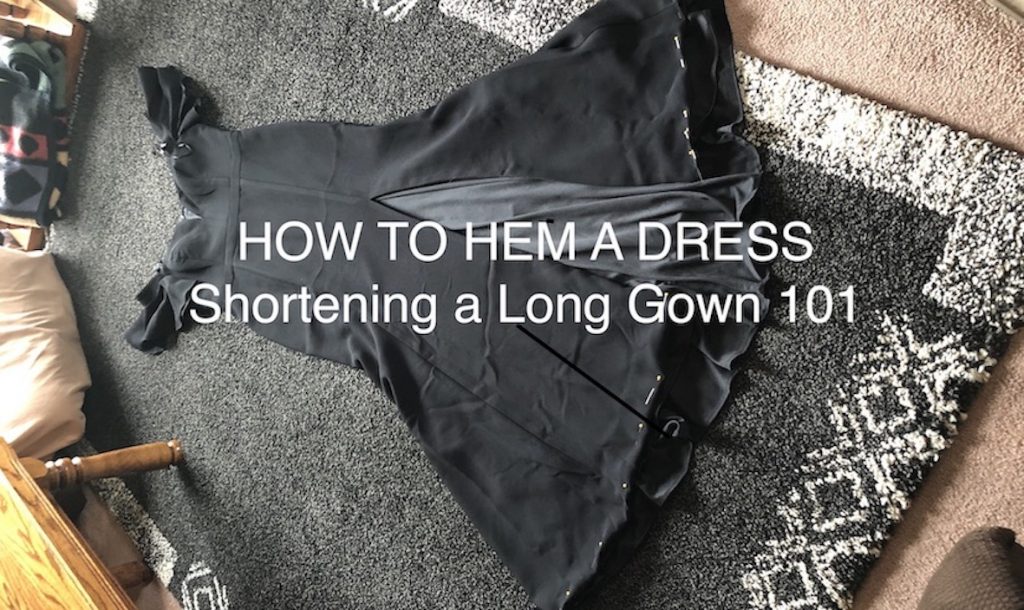
You can shorten and hem any kind of dress by fitting it first, then pinning it up. Pins will keep it in place so you can cut off the excess fabric and shorten the hem. This DIY method will help you learn the basic dress alteration so you can do it yourself.
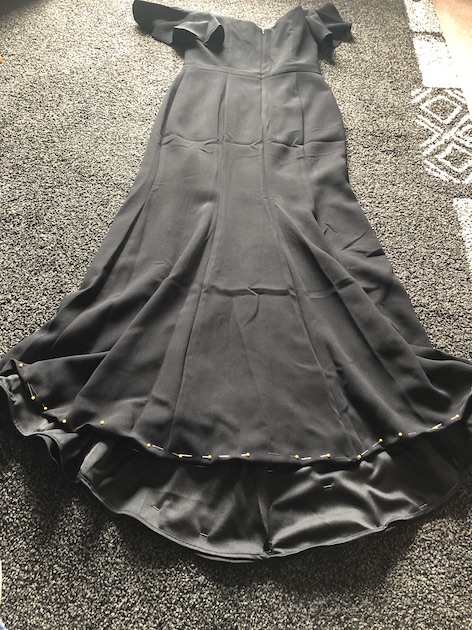
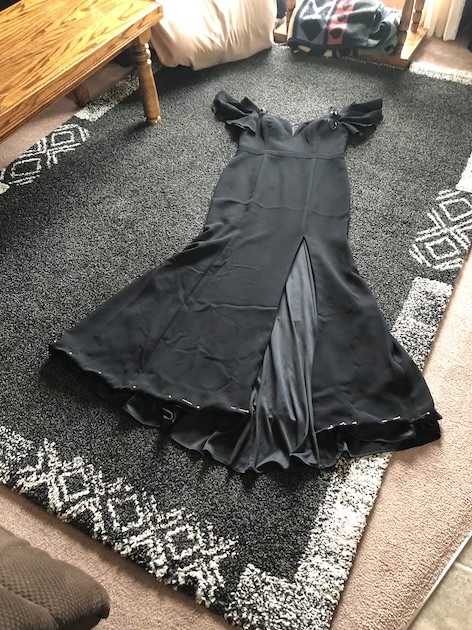
It doesn’t matter if it’s a long dress or a short one, just take one step at a time and you will be able to shorten anything. For this particular article, I will be shortening a mother-of-the-bride dress.
Come on! Let’s get started!
DO A FITTING
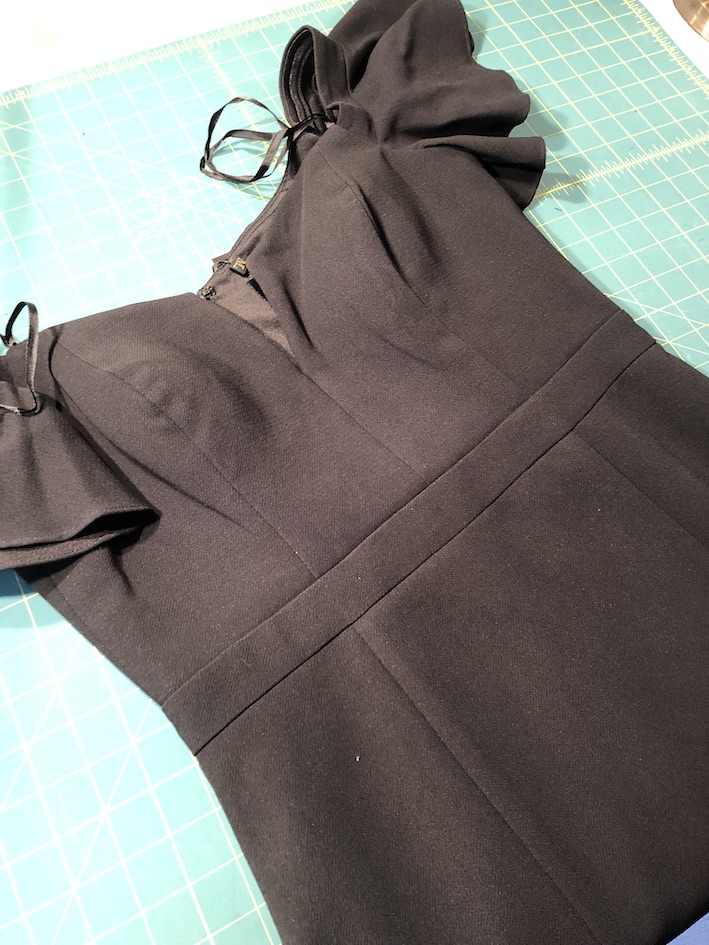
The first step for any dress alteration is trying it on. If you are doing it for someone else, you will have to do a fitting. If you don’t have the person try it on, your hem may become uneven.
Many a time, a friend or customer you are sewing for, will drop off a garment and tell you to take 5 inches off the bottom of the dress. Well, it doesn’t work that way.
More often than not, a garment is unfortunately sewn in a third world country. What that means is it was quickly sewn together, probably by someone other than a professional seamstress. You are not guaranteed that all sides will be even. If you don’t believe me, go take a look at some dresses in the store and measure the sides and back. I bet you, you’ll find a very uneven dress.
I wish it was that simple to just cut 5 inches off the bottom and sew, but it’s not. You don’t want an uneven hem, so the only way is to do a fitting and have the customer stand there while you pin from the floor up.
That’s the best way to be accurate.
PIN AROUND CIRCUMFERENCE
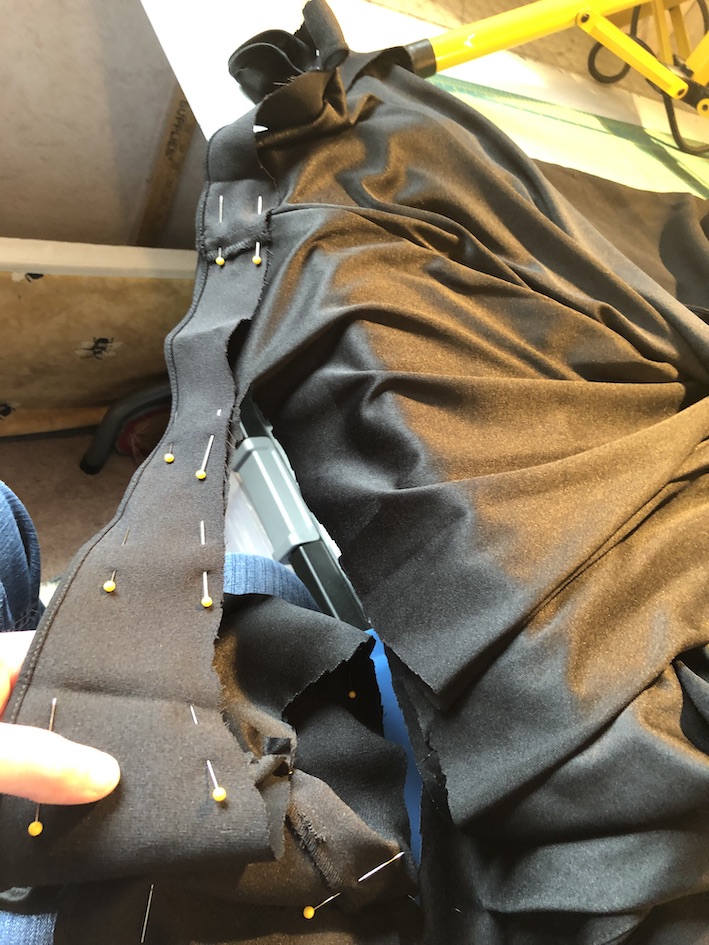
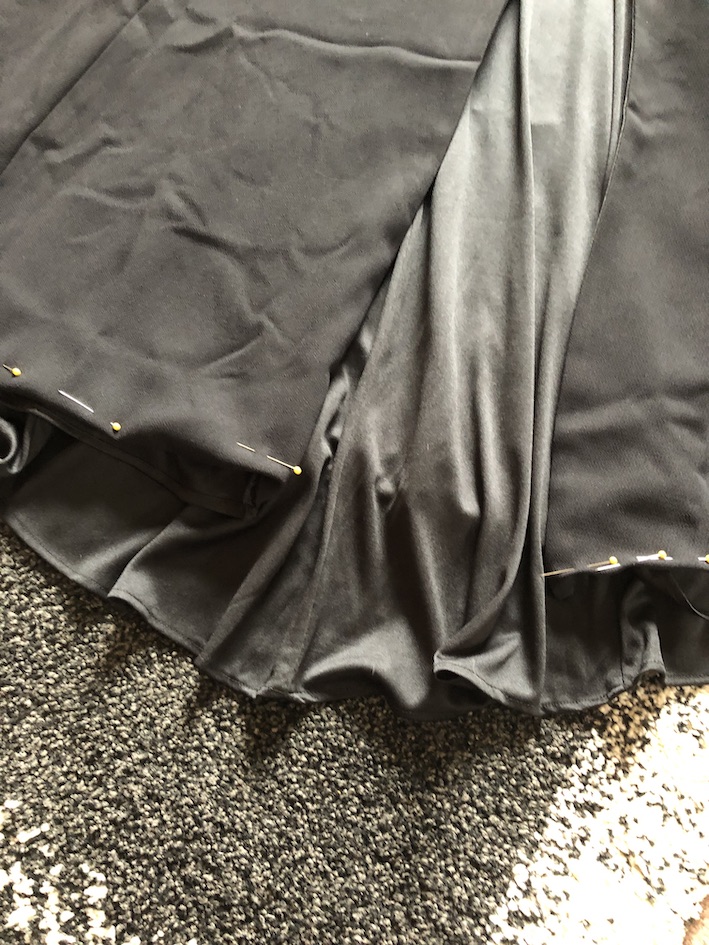
As noted above, you will have to do a fitting. Make sure you have a lot of pins handy and start pinning around the bottom of the hem. Take it up as much as you need to and don’t be afraid to use a lot of pins.
It doesn’t even matter where you place the pins. Just pin!
Get the dress up off the floor and create a new hemline so the customer or friend doesn’t trip. Make sure they wear the shoes they will be wearing for the wedding or special event so you can be accurate as to where you want the dress to hang.
Once you are done the fitting, you can move your pins around to align them better. You can take them out or leave them in, depending on the method in which you decide to sew.
I left mine in as long as I could because I didn’t want to lose that new hemline.
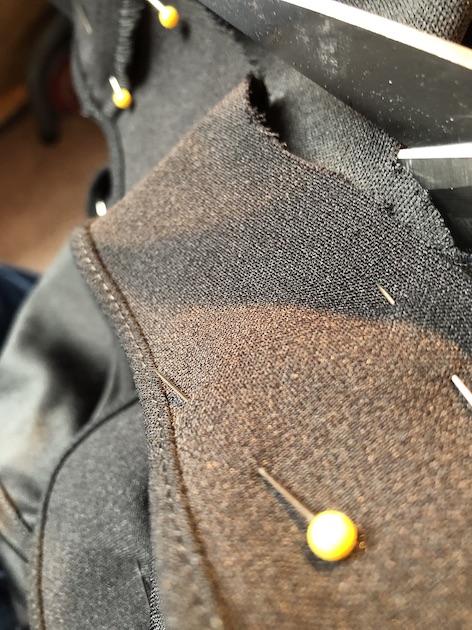
CHALK MARK EDGES
You can use tailor’s chalk if you like. I did. I decided to mark where I wanted the hem to touch the floor. I did this on every major seam as well as front and back. It serves as a good guideline to sew the hem.
I also like to mark with chalk because it gives me peace of mind if any of my pins fall out. You always want to have a secondary method to fall back on. I can’t tell you how many times I have lost a pin when doing an alteration.
The worst thing is to lose that new hemline before you sew it.
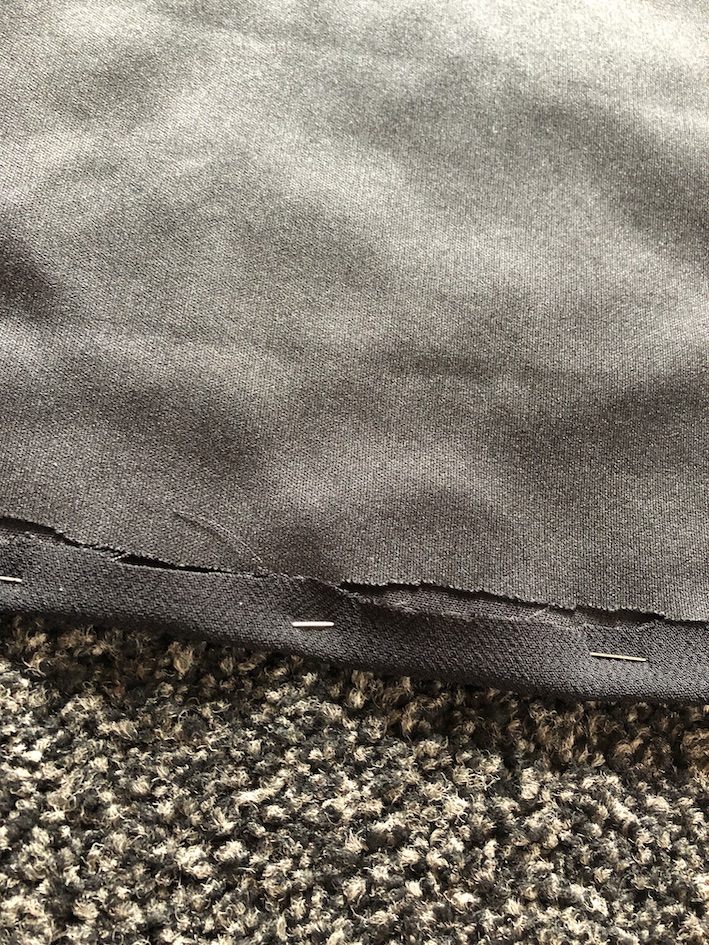
CUT SLOWLY
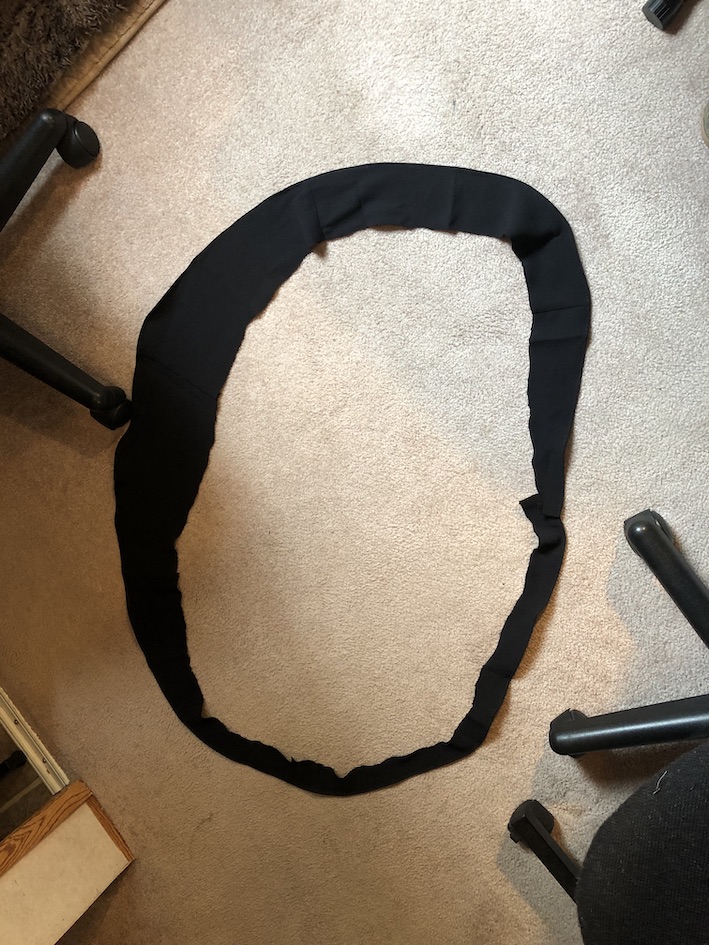
Once everything is marked with pins or chalk, start cutting. This may take you a while because you’ll want to go slow. If you go too fast, you might clip the dress fabric and make a hole. You don’t want that.
Always cut slowly so you know where you’re going and what you are doing. Going back and fixing a hole after the fact is never something you want to do. So, step by step is the best advice I can give you.
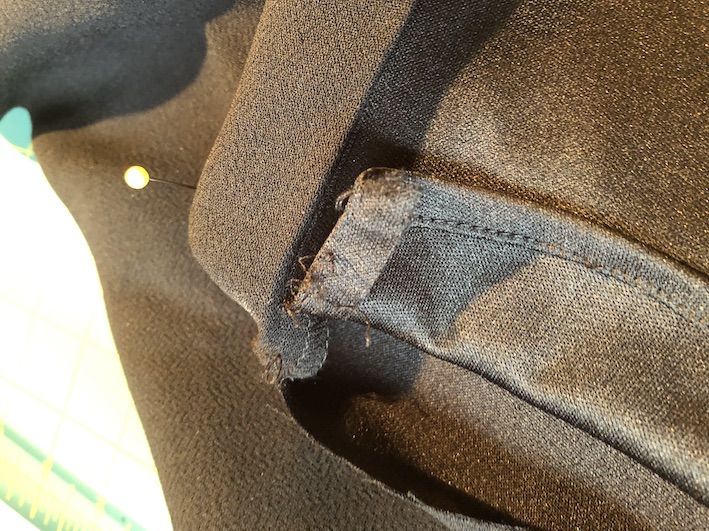
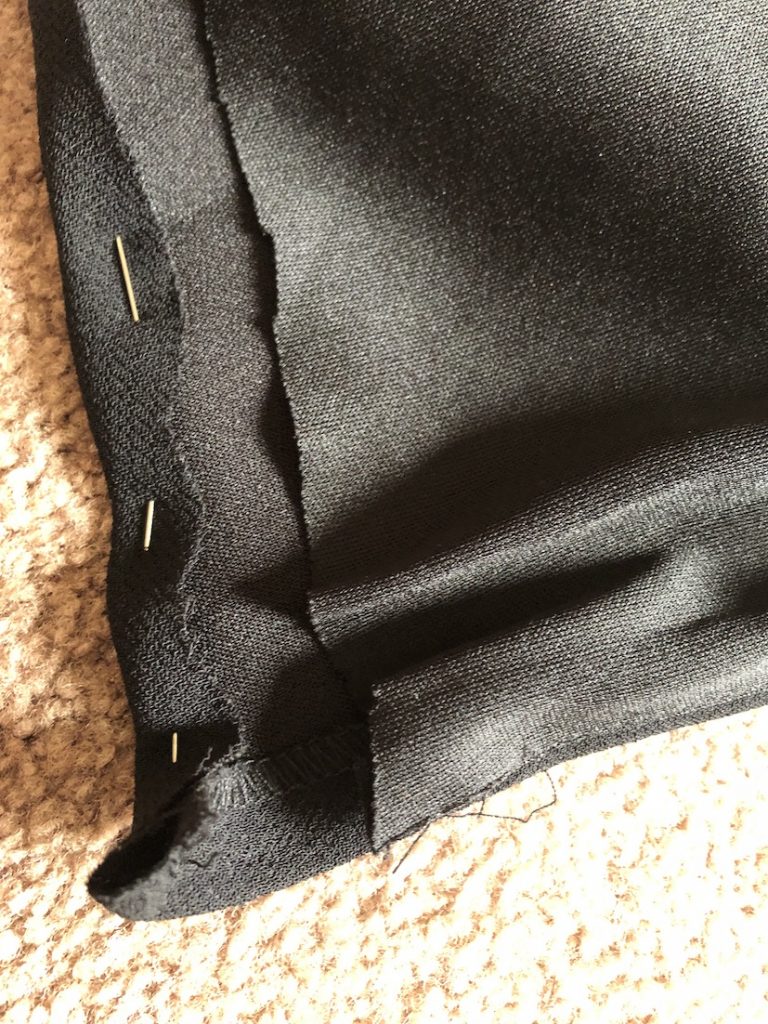
USE A SERGER
I like to use a serger on stretch fabric. More often than not, lining inside a long gown is made out of stretch material. When trying to shorten stretch fabric, the dilemma is trying to create a new hemline without puckering.
A serger will do a clean edge that can actually be left like that. You can do some decorative serger seams that will look just fine left as is.
If you don’t have a serger, you can play around with your single needle sewing machine if it has special stitches. You can find one that works best with a stretch edge. Scallops are lovely if your machine will do that.
The worst-case scenario is having to use just a single needle machine without special stitches. If you are faced with this, then use a stretch stitch. It’s a stitch that goes back and forth on the same sewing line, creating a durable seam so it doesn’t break.
If you don’t have a stretch stitch, you can improvise by going forward and backward on the same sewing line. I’ve done that before and it is certainly doable.
You can also serge the main fabric of the dress. I like to serge the hemline once I cut it. It gives the garment a clean finish ‘before’ I start sewing the hemline. You don’t have to do this, but I find it makes the hem easier to sew if it’s all even.
You could just mark out a cutline all the way around the circumference of the dress, and then cut along that line, but who has time for that. That will take you all day. If you’re sewing professionally, you won’t be making money if it takes you all day to shorten a hemline.
ROLL HEM
Shortening a hem shouldn’t take you all day. It usually takes a couple of hours to do. If you choose to serge the edge as I do, and then roll the hem, it still won’t take you long.
Some use an attachment for their sewing machine foot that helps do a hemline, but personally, I just like to fold it over and sew. I find it goes faster if I just wing it. I realize not everyone can wing it, and that’s okay.
If you practice on a piece of fabric, you can actually get better at freehand hemming. It isn’t that difficult. For this particular dress, I sewed the hem as narrow as I could. The serging sure helped because it created a stiffness I used to roll the hem easier.
If you don’t want a narrow hem, you can make it whatever width you want. Just use your sewing machine foot as a guide, or the measurements on your machine if you have that.
PICTURES

SUPPLIES
Click HERE for everything you will need to sew! (Don’t forget to check out my Youtube video at the bottom for a complete tutorial)
CONCLUSION
In conclusion, my advice is to just try. You might be surprised that shortening a dress hem isn’t all that hard. Most of it is measuring and cutting. The actual sewing part is something a beginner sewer could do. It’s just a straight stitch and that’s it.
The hardest part of shortening a hem is getting past the stigma of it being too hard. It’s as hard as you make it out to be. In fact, I’ll go as far as saying it’s all in your head.
If you can get past the head games and start telling yourself you can do it, you WILL! People will start coming to you and asking you to shorten grad dresses, wedding dresses, you name it. And when they do, you can charge them.
Making money from doing these kinds of alterations is called a business. Yes! So, if that’s what you want, then do it. A sewing alteration business can be a very viable business and a profitable one as well.
So, what are you waiting for? Get sewing!